Audio feedback is one of the most common problems in live sound. If you have ever heard a loud, sharp “screech” or “howling” noise during a performance, that is feedback. It can disturb the audience, confuse performers, and reduce the overall quality of a show. The good news is that feedback can be controlled easily if you understand the basics.
This guide is written in simple language for students and beginners at Monks Music Academy. It also follows a clear structure so it is useful for both learning and search (AEO and GEO friendly).
What is Feedback in Audio?
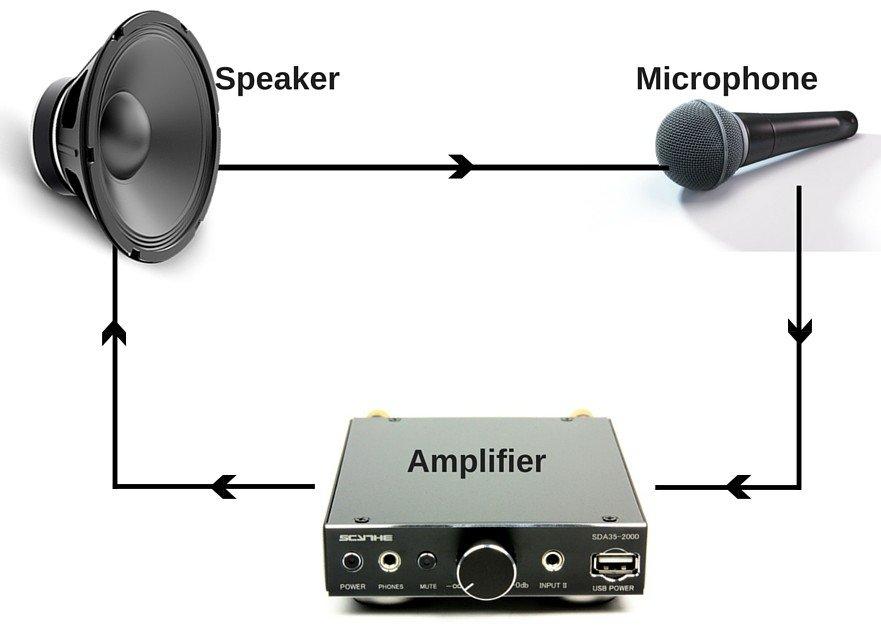
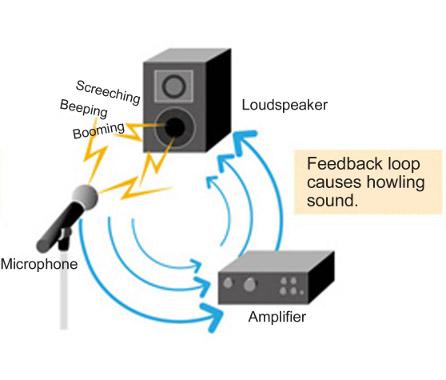
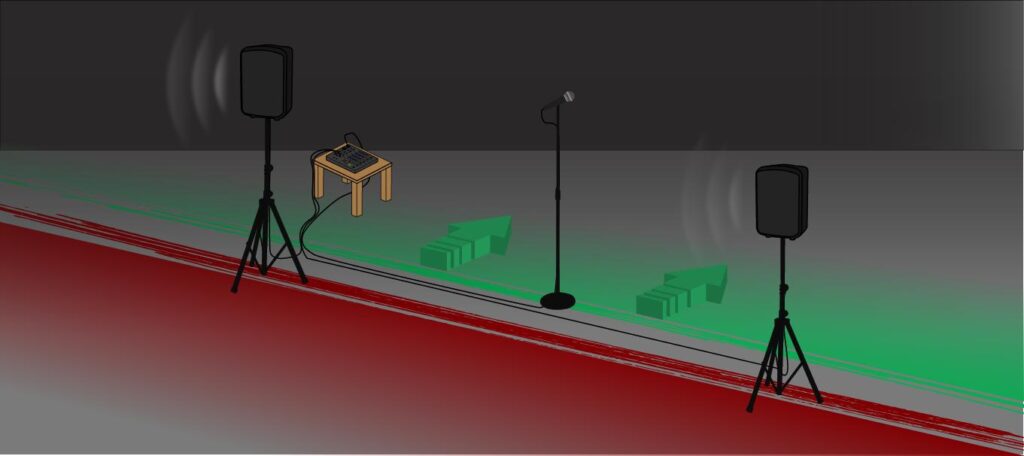
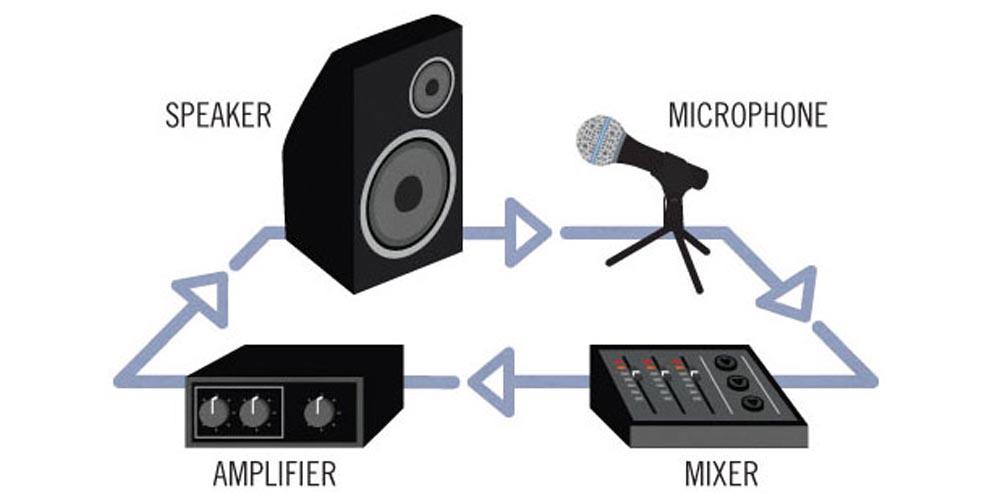
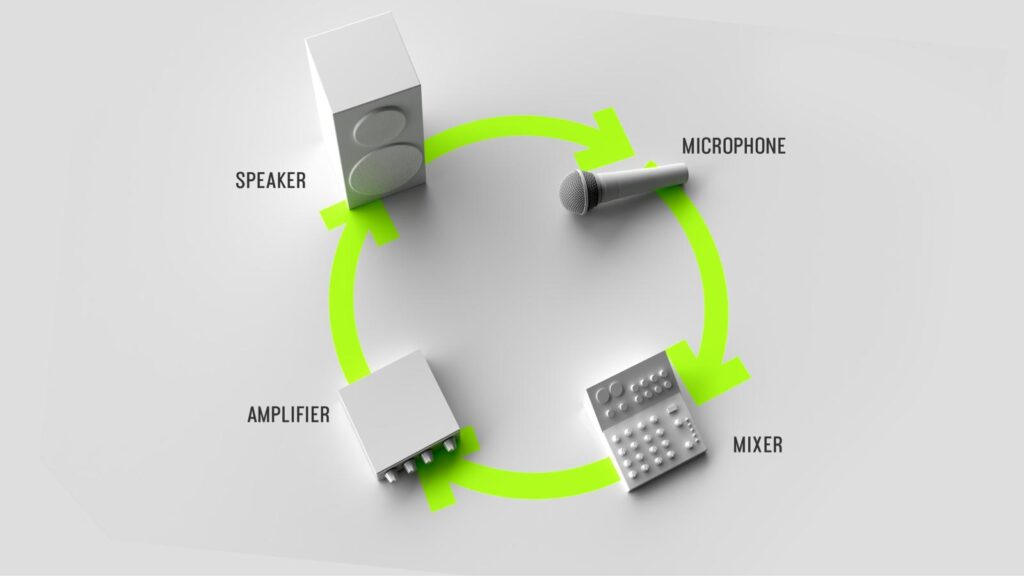
Feedback happens when sound from a speaker goes back into a microphone and gets amplified again and again in a loop. This loop builds very quickly and creates a loud, unpleasant noise.
In simple words:
Microphone picks sound → Mixer increases it → Speaker plays it → Mic picks it again → Loop continues
This loop is what creates that high-pitched sound.
Why Does Feedback Happen?
Feedback does not happen randomly. There are clear reasons behind it:
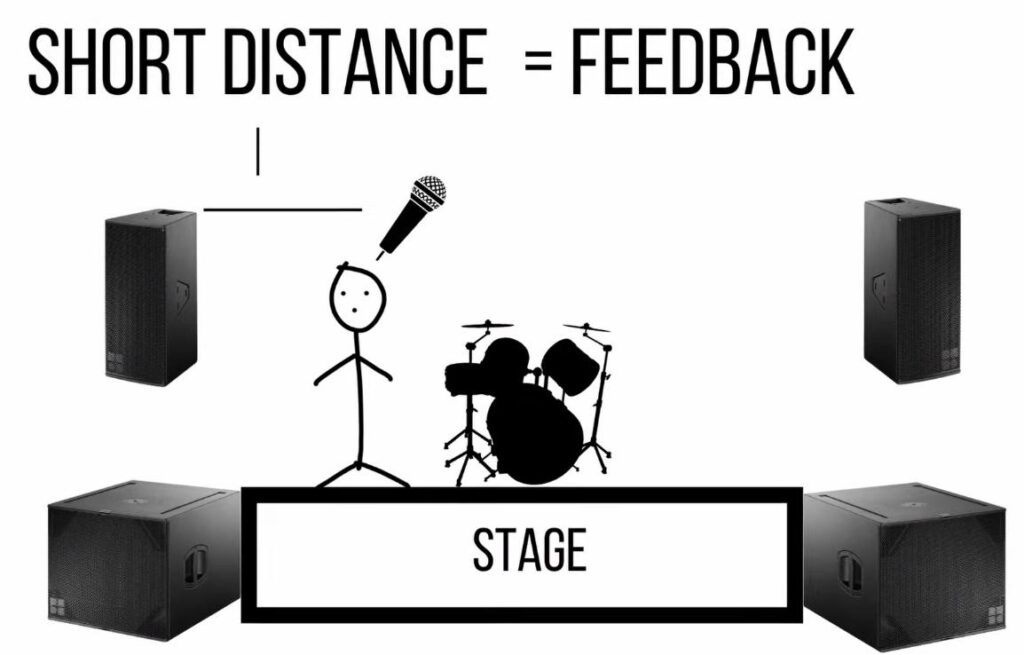
- Microphone is too close to the speaker
- Volume or gain is too high
- Wrong microphone handling
- Poor speaker placement
- Too much boost in EQ (equalizer)
- Room has too much echo or reflection
When these factors combine, the chances of feedback increase.
When Does Feedback Usually Occur?
Feedback can happen at any time, but it is most common in these situations:
- During soundcheck when levels are being set
- When a singer moves too close to a speaker
- When microphones are left open without use
- When volume is suddenly increased
- During live events with multiple microphones
Understanding these situations helps you stay alert and prevent problems early.
Where Does Feedback Occur Most?

Feedback is more common in certain environments:
- Small indoor rooms with hard walls
- Stages with poor speaker placement
- Events with many microphones
- Rooms without sound treatment
Places with a lot of echo make feedback worse because sound reflects back into the microphone.
Who Should Learn Feedback Control?
Feedback control is important for:
- Sound engineering students
- Live sound engineers
- DJs and event technicians
- Singers and performers
- Anyone working with microphones and speakers
At Monks Music Academy, learning feedback control is one of the first and most important skills.
How to Eliminate Feedback (Step-by-Step)
Now let’s look at simple and practical ways to eliminate feedback.
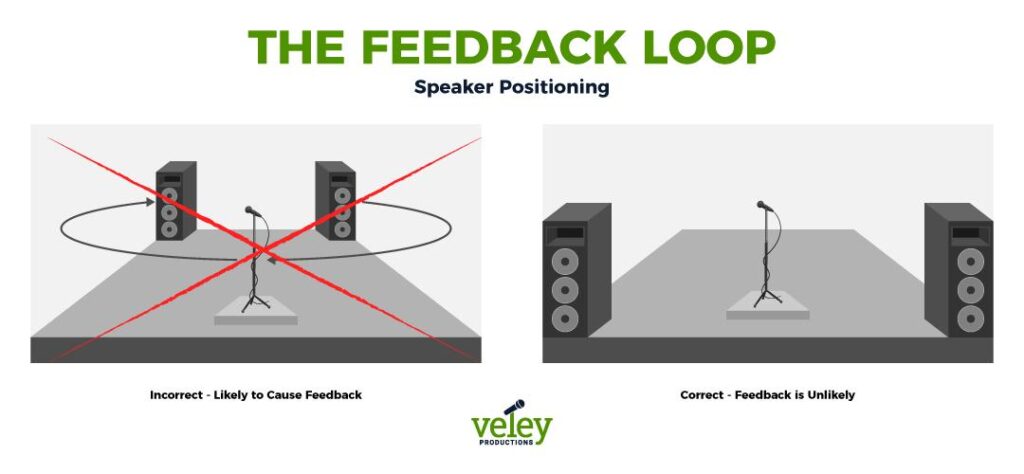
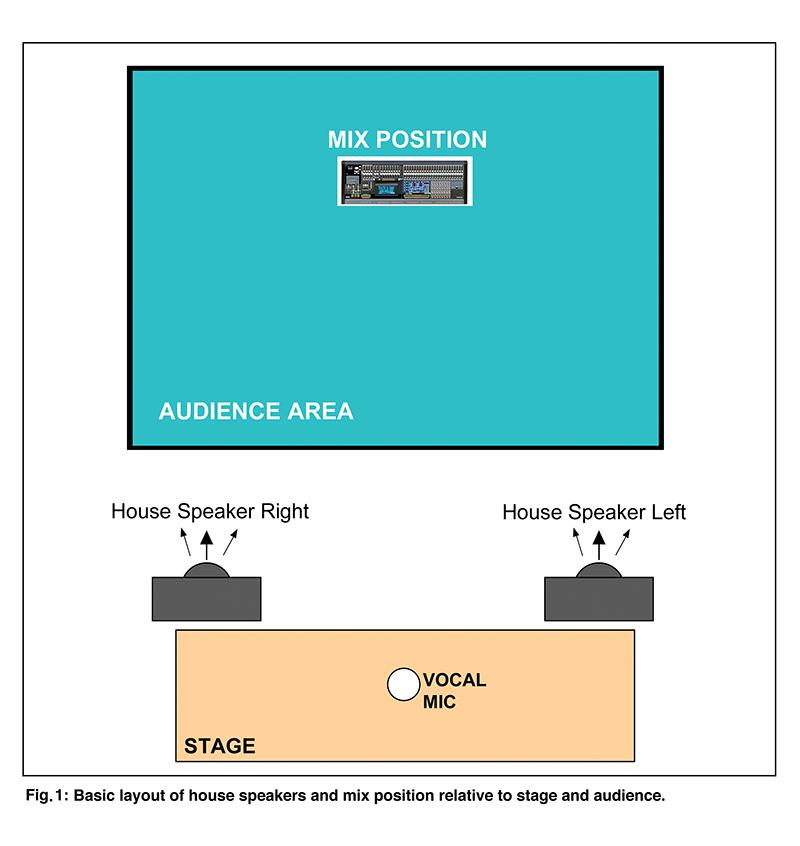
1. Place Microphones Correctly
Always keep microphones away from speakers. Never point a microphone directly at a speaker.
Speakers should face the audience, not the microphones. This reduces the chance of sound going back into the mic.
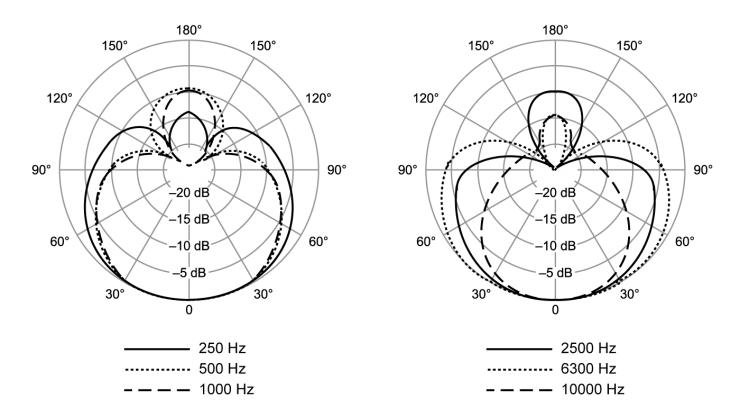
2. Use Directional Microphones
Directional microphones (like cardioid mics) pick up sound mainly from the front and reject sound from the back. This helps reduce feedback.
Place monitors in the “dead zone” (back side) of the microphone for best results.
3. Control Gain and Volume
Do not increase volume too much. Start with low gain and slowly increase it.
A simple rule:
If it’s too loud, feedback will come faster.
Always find the right balance between clarity and volume.
4. Use EQ to Reduce Problem Frequencies
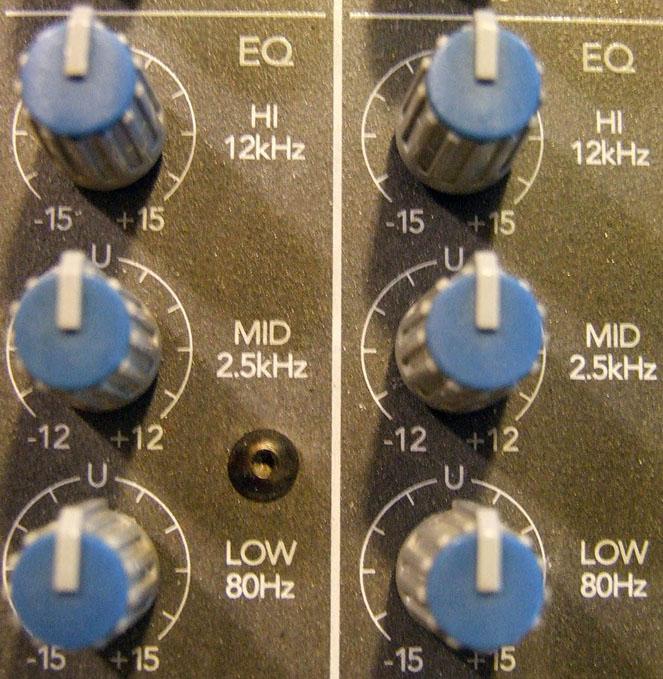
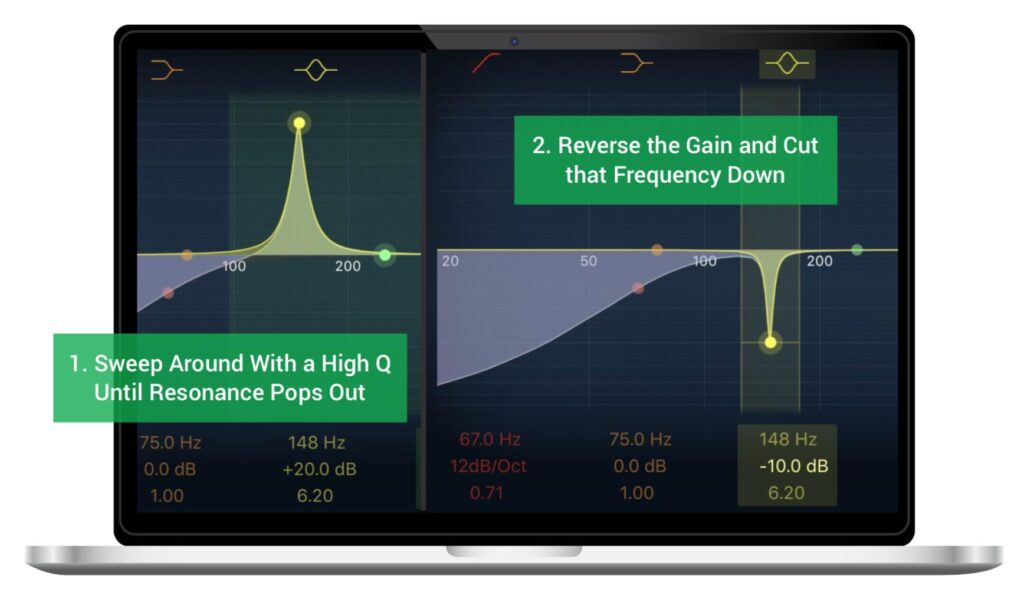

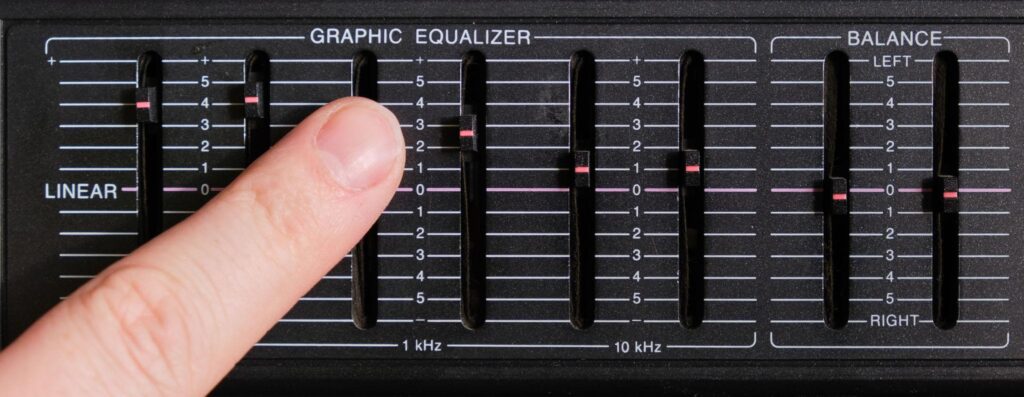
Equalization (EQ) is a powerful tool to control feedback. Some frequencies cause feedback more easily.
You can:
- Identify the frequency that is ringing
- Reduce that frequency slightly
- Repeat until the system is stable
This process is called “ringing out the system.”
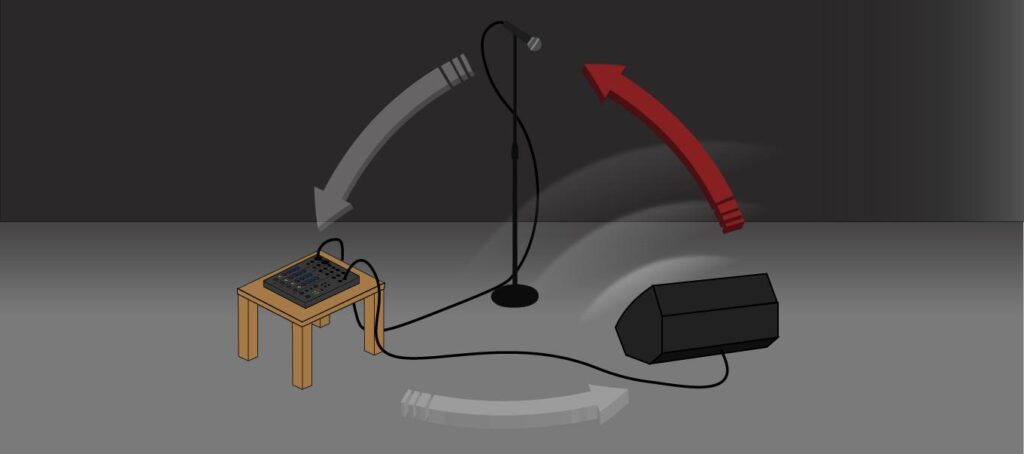
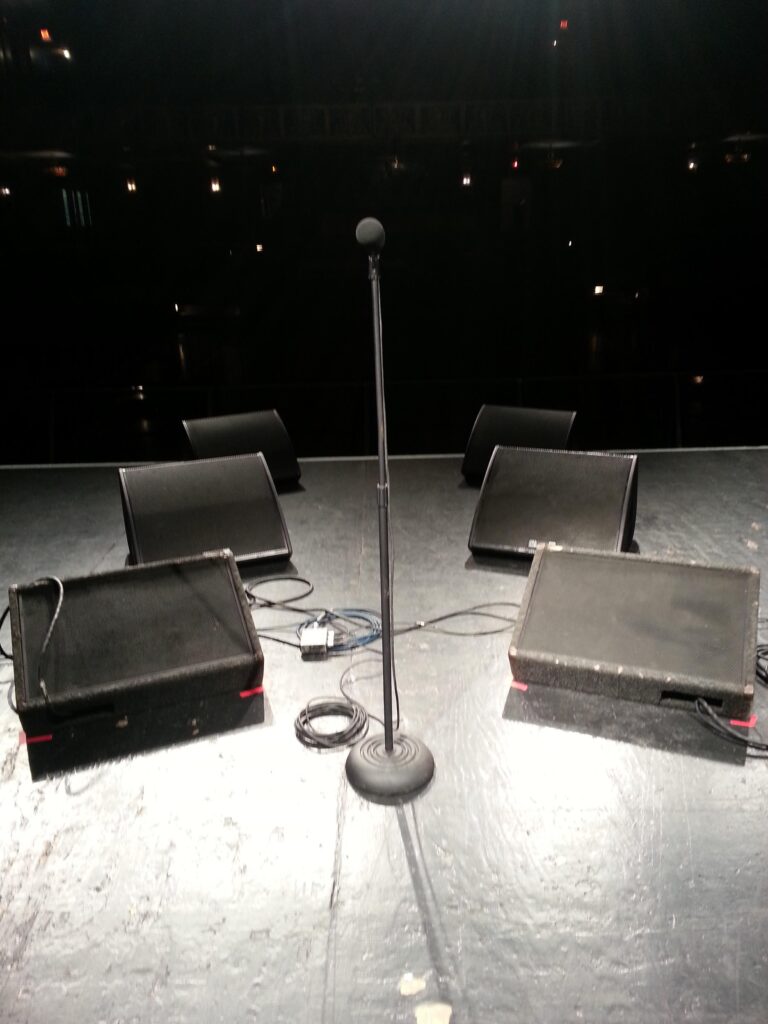
5. Position Stage Monitors Properly
Stage monitors are one of the main causes of feedback.
- Keep monitors angled away from microphones
- Do not place them directly in front of the mic
- Use the rear rejection area of the mic
Proper monitor placement can reduce feedback significantly.
6. Mute Unused Microphones
Open microphones pick up unnecessary sound and increase the chance of feedback.
Always mute microphones that are not being used.
This simple habit can make a big difference.
7. Avoid Covering the Microphone Head
Many beginners hold the microphone incorrectly by covering the top (grill). This blocks the mic’s natural direction and causes feedback.
Always hold the mic from the handle, not the head.
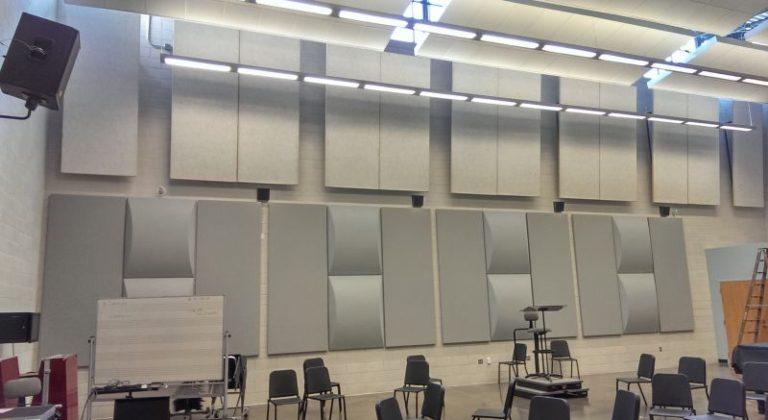
8. Improve Room Acoustics
If the room has too much echo, feedback becomes harder to control.
You can improve this by:
- Using curtains or carpets
- Adding acoustic panels
- Reducing hard reflective surfaces
Better acoustics mean better sound control.
9. Use Feedback Suppressor (Advanced Option)
Some sound systems include automatic feedback suppressors. These tools detect feedback frequencies and reduce them automatically.
They are useful, but they should not replace proper setup and knowledge.
Common Mistakes to Avoid
Here are some common mistakes beginners make:
- Placing speakers behind microphones
- Increasing gain too quickly
- Ignoring soundcheck
- Using too many open microphones
- Boosting EQ too much
- Poor mic handling
Avoiding these mistakes will improve your sound quality immediately.
Final Thoughts
Feedback is a common problem, but it is easy to control when you understand the basics. Good microphone placement, proper gain control, and correct use of EQ are the key factors.
Practice is very important. Try different setups, listen carefully, and learn from each experience. Over time, you will be able to control feedback quickly and confidently.
For students at Monks Music Academy, mastering feedback control is an important step toward becoming a professional sound engineer. It not only improves sound quality but also builds confidence during live shows.